For the recipe, go here: Pineapple Tarts
Pineapple tarts are a popular treat in Singapore during Chinese New Year. A long, long time ago, missing my home of Singapore during Chinese New Year, I decided to make pineapple tarts, since I couldn’t really find any here in the US.
It was a lot of work. It was messy and time consuming. In my fifth hour of cooking pineapples I was seeing stars and questioning my choices in life. “Never again,” I swore.
The next year rolled around and I’d recovered enough emotionally to try to make them again, this time with a goal to make the recipe less time consuming and more foolproof.
It took me more than a couple more tries and several years but…
Now, this is it. We have a winner!
Today we’re going to break down the recipe and talk about each step, and how I optimized them to make these tasty pineapple tarts doable in an afternoon.
The basic steps:
- Make the filling by cooking down pineapples and sugar until it forms a solid-ish filling.
- Make a pastry for the crust.
- Place the filling in the pastry and bake it.
(Once again, if you don’t want to read this lengthy post you can always jump straight to the recipe here: Pineapple Tarts.)
1. How to make the pineapple filling
I like keeping my pineapple filling simple. Pineapple and sugar. To turn pineapples in sugar into filling, you’re going to want to pulverize and then cook the pineapples down so much that it turns sticky and then starts caramelizing. You know, like turning milk and sugar into candy. So yeah, we’re basically making candy from pineapples.
Fresh vs canned pineapple
The first year I made pineapple tarts, I made them with fresh pineapple. I mean, fresh is better, right? I’ve since found out that it really isn’t worth the effort of waiting for a pineapple to ripen (not everyone lives in Hawaii, where you can get wonderfully ripe pineapples all the time, ok), then chopping it along the ridges so you don’t get any hard eyes in the filling, and then cleaning up your chopping board and counters because the juice got everywhere…
Canned pineapple works perfectly. It’s canned at its peak freshness. The only thing you’ll need to pay attention to is to use pineapples canned in pineapple juice. The syrup in pineapple cans taste weird and you don’t want any of that extra weirdness.
Getting the water out of pineapples. Fast.
Ok remember when I said that we’re making candy? What we really want is caramelization to happen. Caramelization takes the cooked pineapple from tasting like steamed pineapple to tasting like robust, rich, browned pineapple. Caramelization only takes 2 things – sugar and heat. You already have these 2 in the pineapple. But, pineapples also have water. And water gets in the way. We’re going to get that water out, stat.
First, you gotta drain your pineapples.
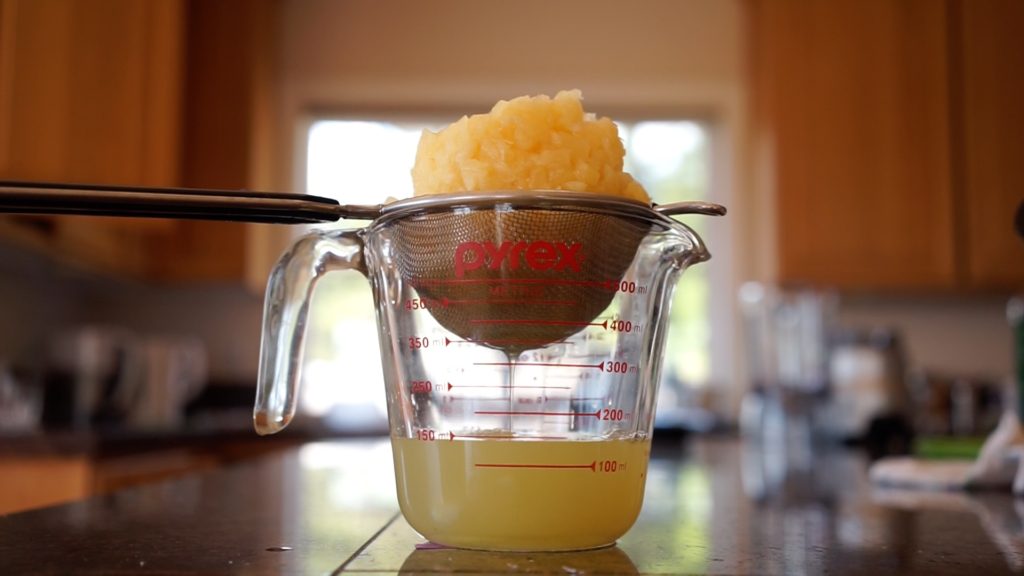
Then, you’re going to want your pineapple pieces as small as possible. For this reason, I like starting with crushed pineapple so I end up doing the least work in making my pineapple pieces small. I then put the pineapples into a blender and blend them up. My blender is not that powerful, so the pineapple texture is retained, but if you’re using something powerful like a vitamix, and you like a bit of pineapple texture like I do, then perhaps just pulse it only a couple of times.
Next we’re going to cook off the liquid. To do it fast, let me introduce you to your new BFFs:
- Surface area
- Heat
1- Surface area — you’re going to want your biggest non stick pan (non stick because the filling is sticky and so if it sticks on the pan that means more for the pan and less for you). And, you’re going to want to maximize every surface inch of that pan. So go ahead and spread out the blended pineapple. Optimize for a thin, even layer.
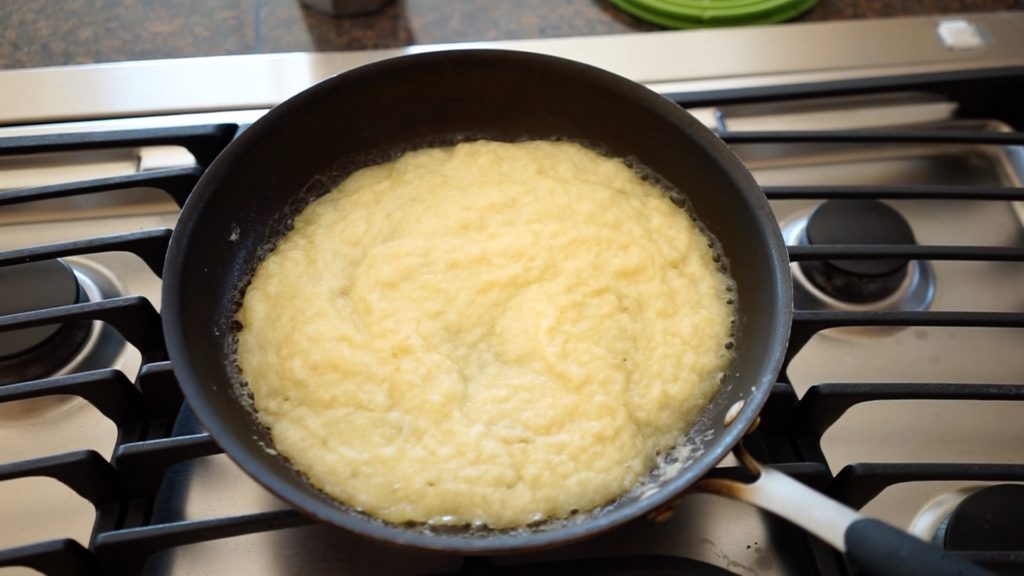
2- Heat — honestly, just blast that heat. You don’t need to worry about burning at this stage. I use the biggest burner I have. Stirring is completely unnecessary.
Once the most of the liquid has cooked off and it starts looking like just pineapple pulp (it’ll take 4-5 minutes), that’s when you want to start stirring.
The role of sugar in pineapple jam
The interesting about sugar is that it’s hygroscopic. This means that it likes to hold on to water. So once you’ve gotten rid of the excess water that the existing sugar in the pineapple can’t hold on to, you’re going to have to deal with the water that the sugars are holding on to. And they put up a nasty fight. To get them to drop their water, and start caramelizing, you can either keep cooking for a long, long time, or add more sugar.
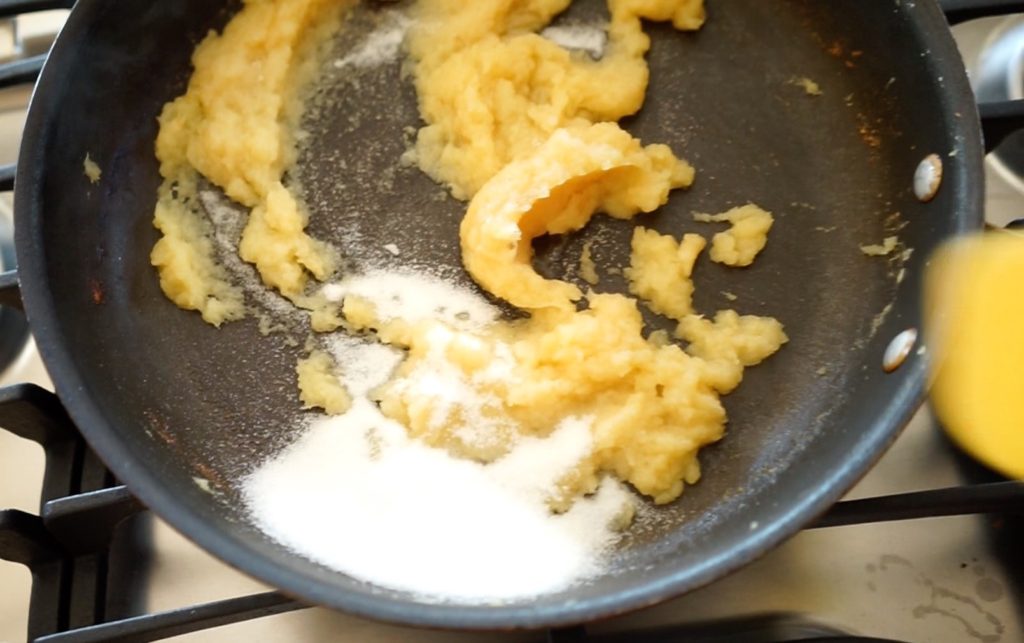
An interesting thing happens once you add more sugar. It’s like the existing sugar gets all territorial and tries to punch the new sugar, but in doing so, drops its bags of water. Evaporation jumps in and steals all the water, leaving both parties with nothing. Anyways, that happens, so caramelization kicks in pretty quickly after.
Summary: Add sugar after the excess water is evaporated.
If you follow all these – remove water, add sugar – then it will take you less than 10 minutes from putting the pineapple into the pan to getting a nice golden-orange filling, a huge reduction in active time, especially when compared to a traditional recipe.
Setting your filling up for success
The number one issue with pineapple tart filling is that it is too sticky to work with. Common solutions offered to this problem are “cook it longer” or “add more sugar” or “leave your filling out to dry so it becomes dense”. I used to think that those terribly imprecise options were the only solutions. Not anymore!
In order to achieve a malleable and easy to shape texture to your pineapple filling, feel free to utilize the modern invention that is called “the freezer”.
Freeze your filling.
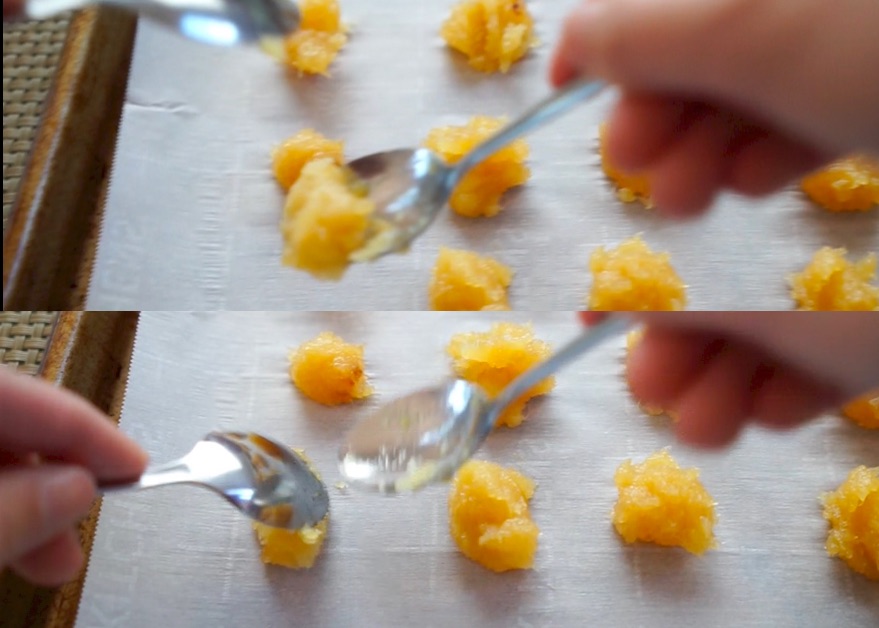
But instead of freezing the whole batch as one, let’s separate the filling into individual pieces. The idea is that you’ll take the filling directly from the freezer and onto (or into) the pastry that will be holding it. Tadah! No sticky fingers! No mess! No tears!
Here I use a 2 spoon method to dollop half teaspoon sized balls onto a baking sheet:
Then I put the whole thing into the freezer:
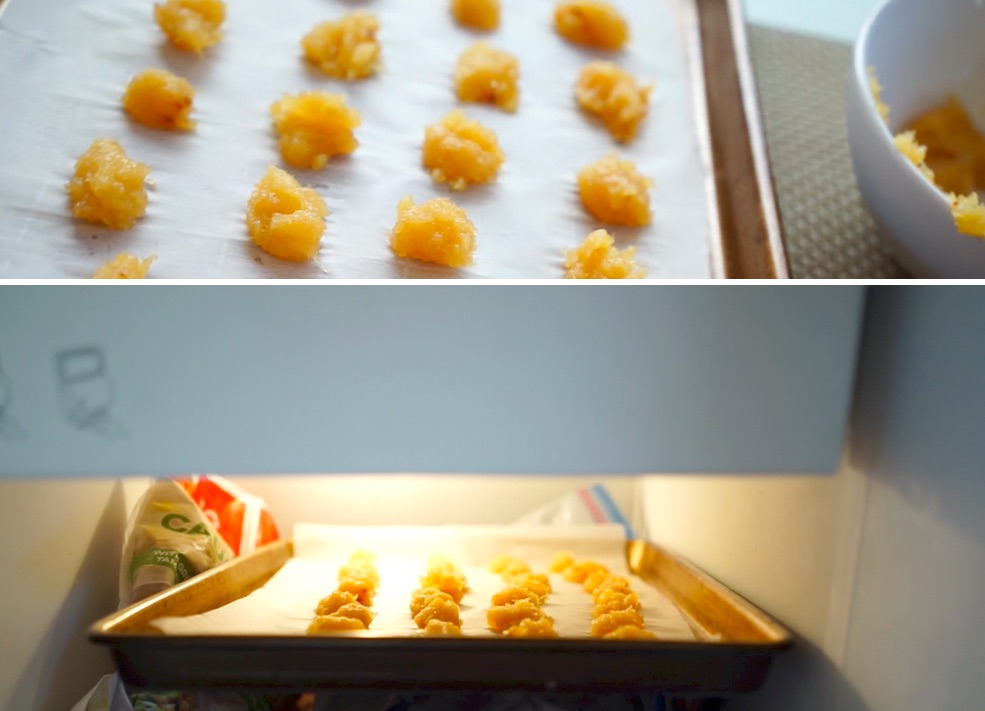
This has an added benefit of providing easy storage. Don’t want to bake today? That’s okay! The fillin’s just going to be chillin’ until you’re ready!
2. How to make the crust
Different types of shapes
There are multiple ways of shaping pineapple tarts. There’s the open faced tarts that look pretty, and there are ones that are enclosed. I’ve watched many a video of open faced pineapple tarts and can safely conclude that I would like to put the least amount of effort into making my tarts aesthetically pleasing and open faced tarts are so. much. work.
So enclosed tarts it is!
Food processor as a tool
Luckily for me, I’ve stumbled upon this recipe: http://nasilemaklover.blogspot.com/2013/02/my-best-melt-in-mouth-pineapple-tarts.html
And I’ve used it for years! It truly is the best melt in your mouth cookies, as it describes itself.
This recipe is great. You stick all the ingredients into a food processor and pulse, and everything comes together in seconds.
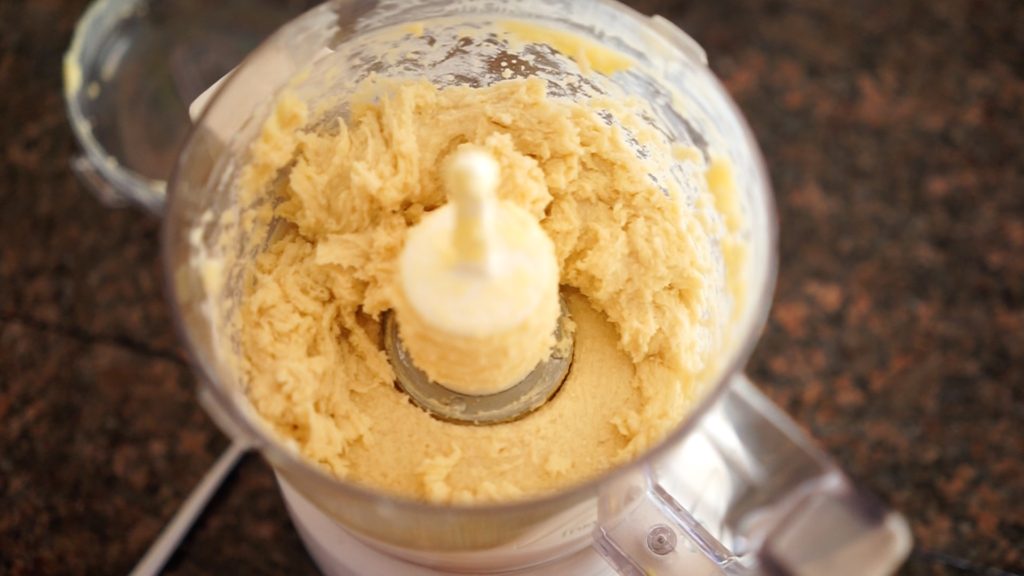
I’ve made a couple edits to the recipe:
1. replaced some flour with almond flour. Honestly I was just trying to use less flour and the results came out great.
2. I replaced some flour with cheese. Because I like cheese. I think the savoriness provides a good contrast.
3. Assembling and baking the tarts
Ok now we’ve got the components down. It’s home stretch – just gotta put the filling into the dough.
By now, we’ve mitigated all the problems that might come up with handling the filling by freezing it, so all that’s left is assembly.
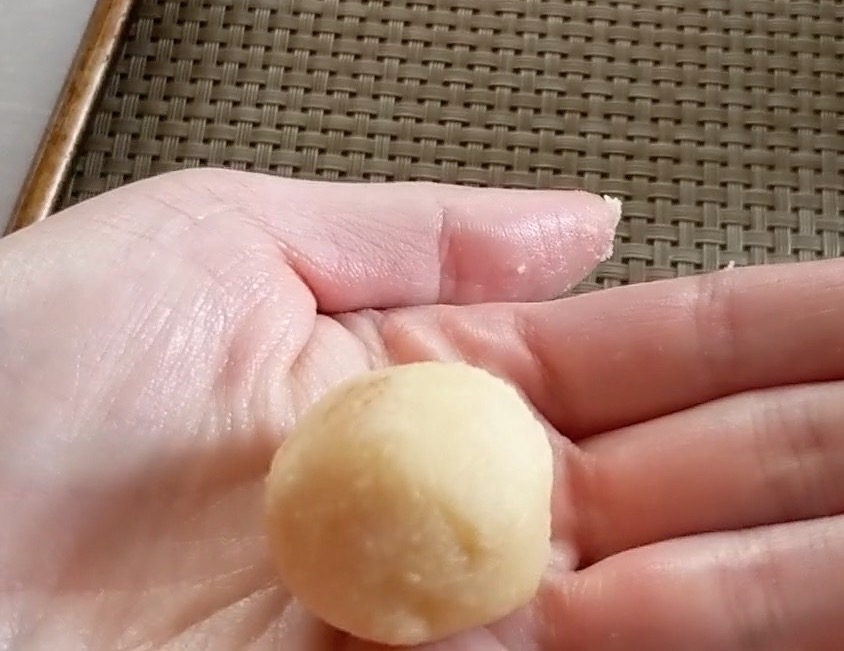
Start with clean, dry hands. The dough will stick to wet hands. Take a ball of dough in your hand, then press a frozen piece of filling into the center of the soft dough. Close the dough around the filling, and voila~ You’ve got a pineapple tart!
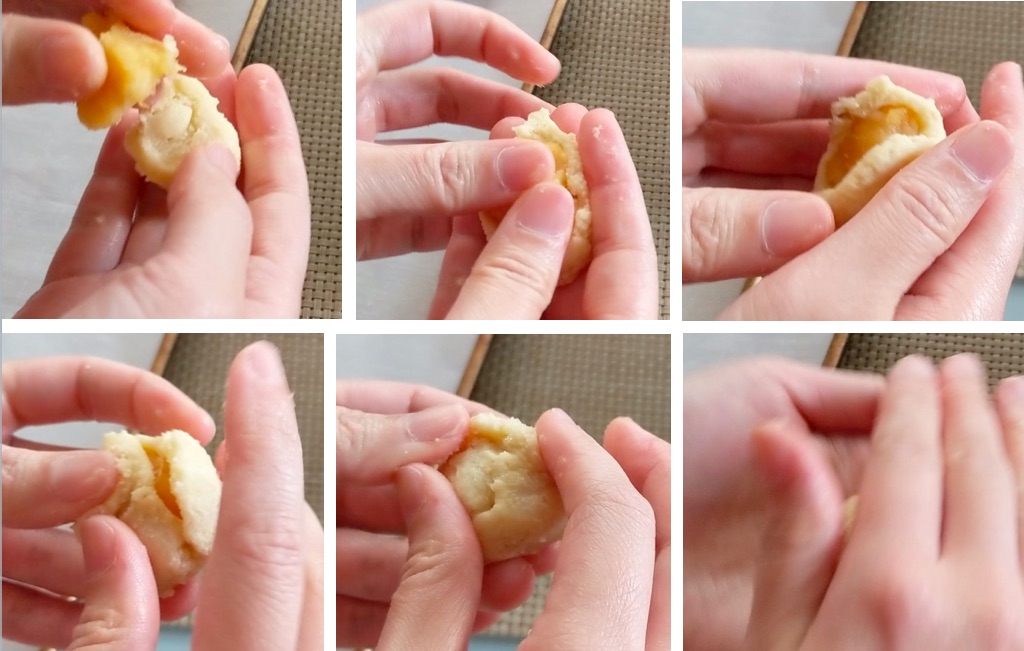
(You still have to bake them)
Finishing touches
Ok at this point any additional steps are optional, but I like doing them. I call this step “make pretty”.
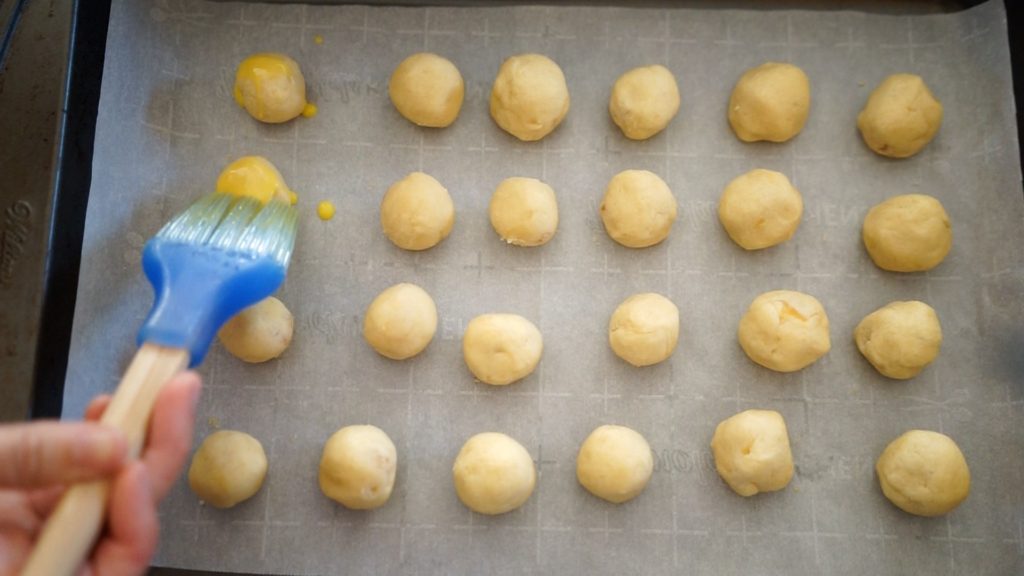
We’re going to put an egg wash on them so they look polished:
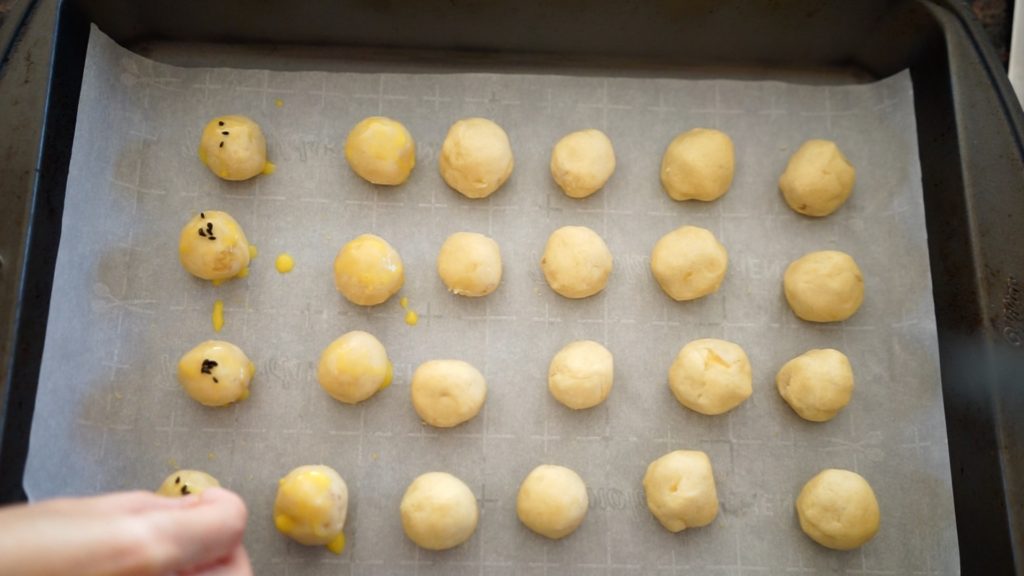
and then top some black sesame seeds for color.
The bake
Bake them at 350F, on the center rack, between 15 – 18 minutes.
I recommend baking for 15 minutes. At this point everything is cooked and the tart crust retains it’s softness.
Occasionally I do like baking it a little longer, for 18 minutes, it has more color and I think the cheese is more apparent. I do enjoy the texture, you get some crunchy cheese bits.
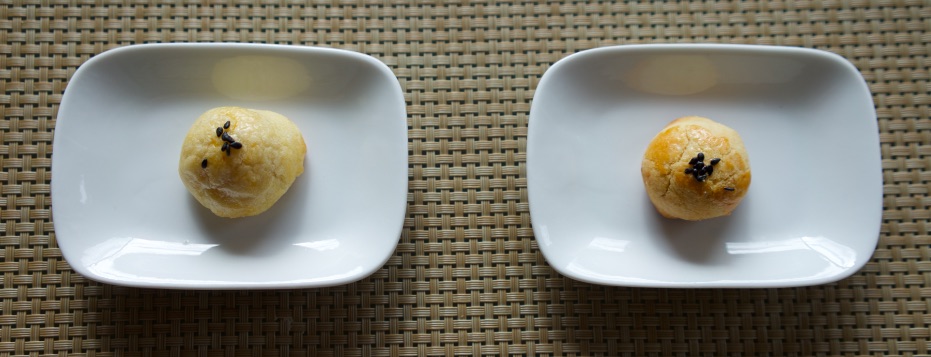
Here’s a picture of the top: left is baked for 15 minutes and right is for 18 minutes.
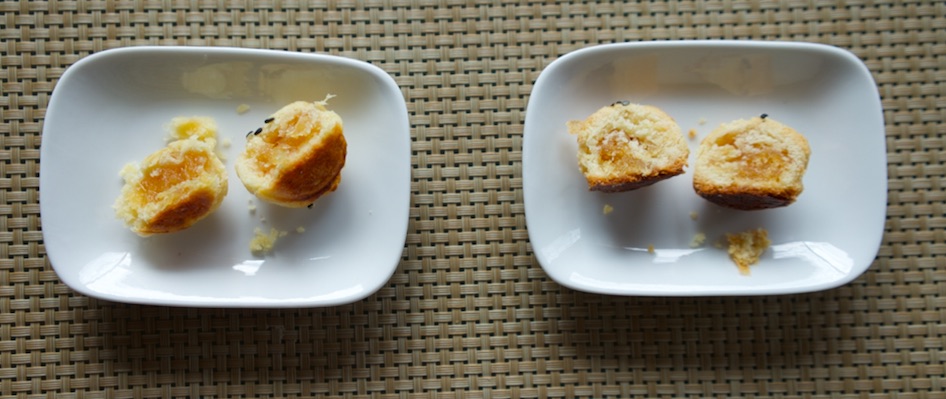
And here is a cross section:
What do you think?
Try the recipe here: Pineapple Tarts